How to Download Fonts in Photoshop
Photoshop is a powerful tool for editing images and creating designs. However, its default fonts can be limiting for how you want to use the program. Fortunately, you can add new fonts to Photoshop from the vast amount of free fonts available online. Here’s a guide on how to download new fonts and use them in Photoshop.
Step 1: Choose a Font and Download
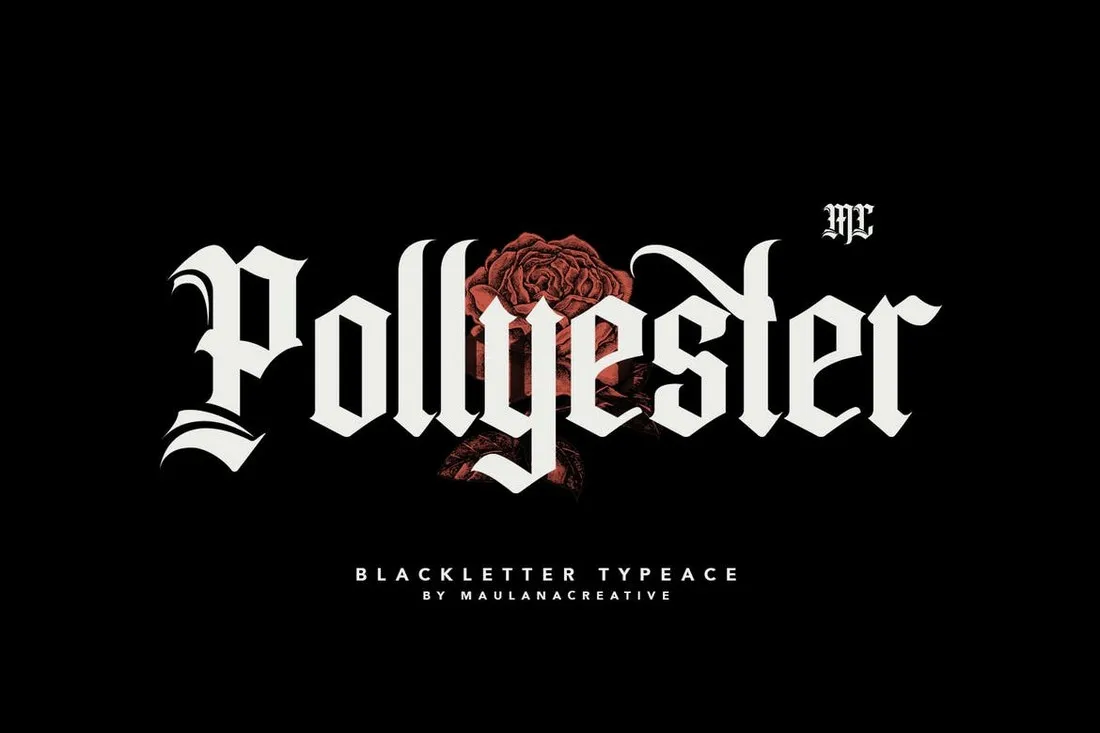
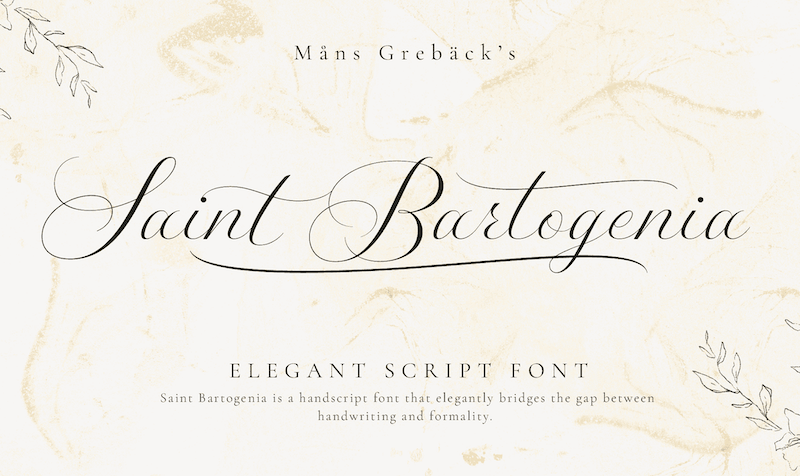
The first step is to find a font to download. There are a variety of sites like Google Fonts, dafont, and Font Squirrel that provide a plethora of free and open-source fonts. Once you find the font you want, download it as a .TTF or .OTF file.
Step 2: Install the Font
Now that you have the font file downloaded, you’ll need to install it on your computer. On Windows, open the file and click “Install”. On Mac, double-click the font file and then click “Install Font”.
Step 3: Access Fonts in Photoshop
Once you have the font installed, you can access them in Photoshop. Here’s how to do it:
- Open Photoshop
- Go to Type > Fonts menu
- From the upper-left corner, click on the Options selector
- Choose to show All Fonts
At this point, you should be able to see the fonts you just installed. Select it and you’re ready to go.
Conclusion
Adding fonts to Photoshop is a great way to add creativity to your designs. With the help of this guide, you should now have a better understanding of how to download and install fonts on Photoshop. Enjoy experimenting with fonts and creating beautiful designs!


