How to Download Different Fonts on CapCut
Capcut is an amazing, lightweight mobile video editor primarily used by content creators on YouTube and other social media platforms. It is also useful for creating stories and other more basic editing processes. An important editing feature of CapCut is the ability to change the font of your text. However, many people are not sure how to download different fonts on CapCut. Thankfully, it’s an easy process that anybody can do with just a few steps.
Steps for Downloading and Installing Fonts
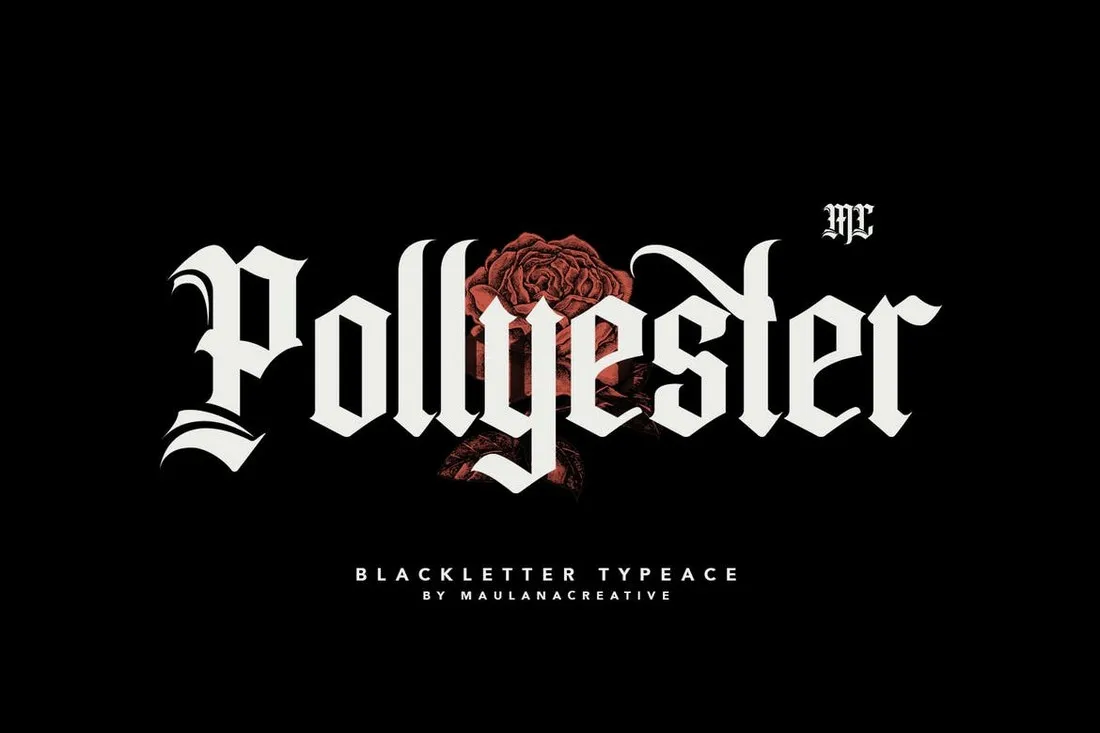
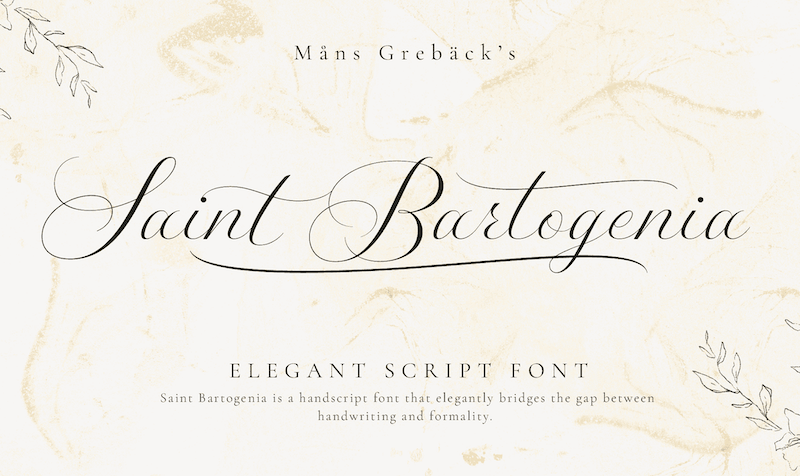
- Source the font: Start by finding a font you like. A quick search online will give you tons of options. Once you find something you like, make sure it’s “free and licensed” before you download it.
- Download the font: Save the font to your device either by downloading the file or accessing it through a third-party website.
- Install the font: This step varies dependent on your device. On Android, go to Settings > Display > Fonts and activate the font. On Apple, go to Settings > General > Fonts and tap the font you want.
- Open CapCut: Once you have installed the font, open CapCut and create a new project.
- Add the text: Tap the “Text” tab and type your text.
- Change the font: Tap on the “Text” tab and scroll down until you see the option to change the font. Select the font you downloaded and enjoy your new text.
The process to download different fonts on CapCut is simple and easy to do. With just a few simple steps you can make your videos look more stylish and professional with the right font. Experiment with different fonts to see which style works best for your projects!