Downloading Fonts For Final Cut Pro
Using fonts in your Final Cut Pro projects can add visual appeal and draw in viewers. To get started, you will need to download fonts to your computer. Here is how to do it:
1. Download an application for font management
If your computer does not already have one, you will need to download a font management application. FontExplorer X Pro or FontBase are two great options that can be used on both Mac and PC.
2. Choose a font provider
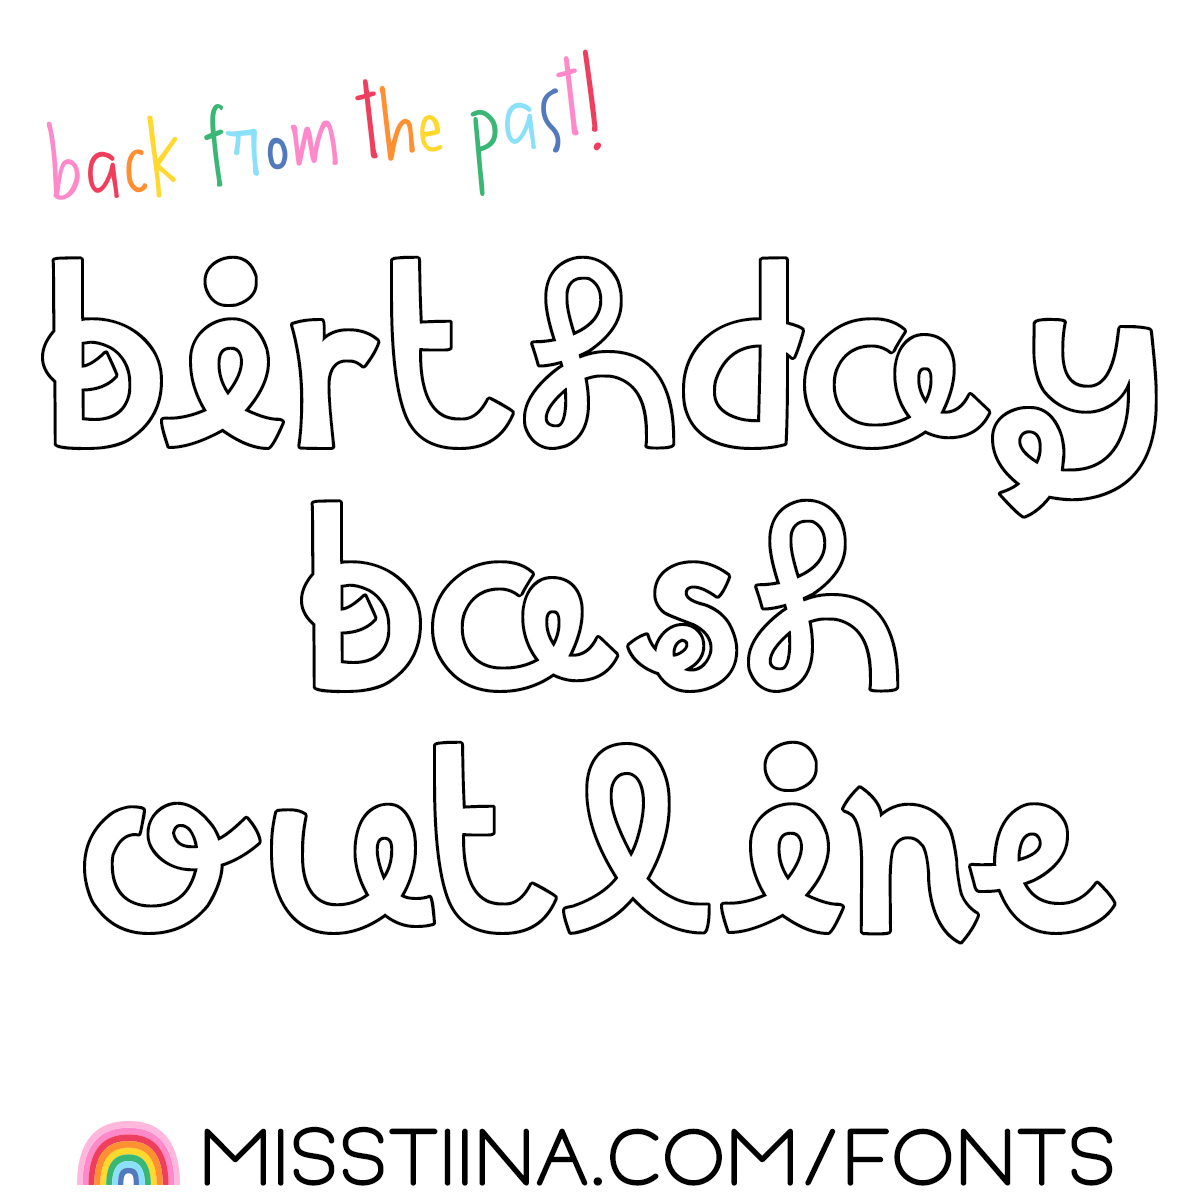
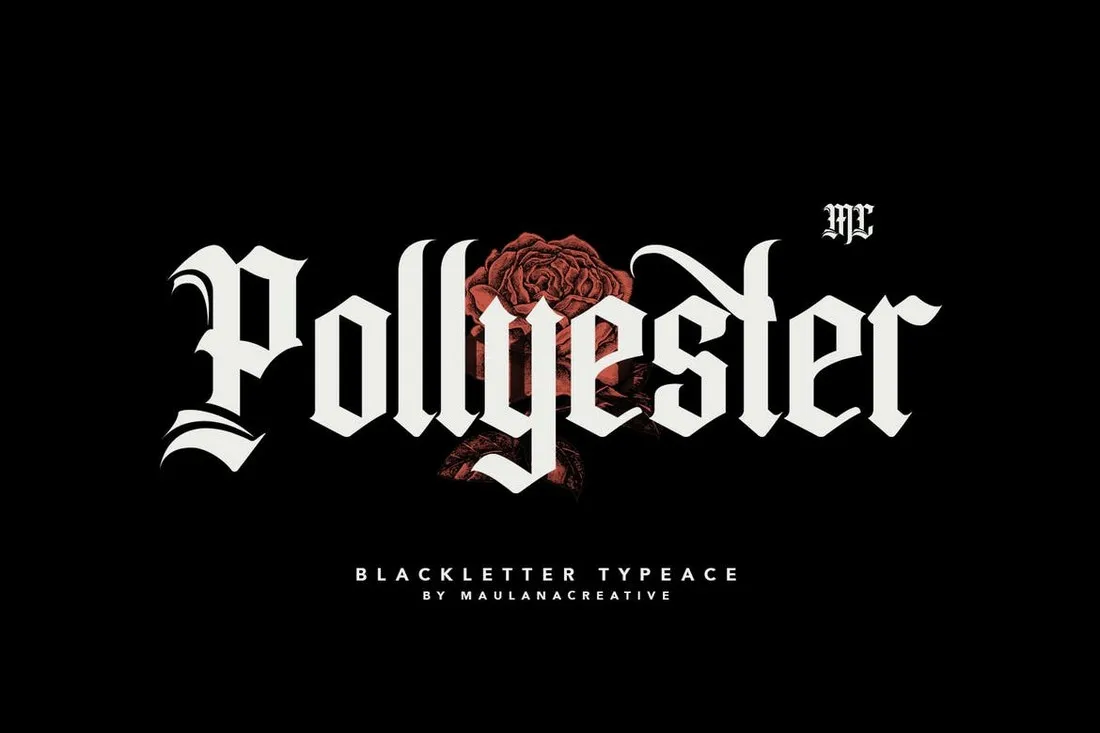
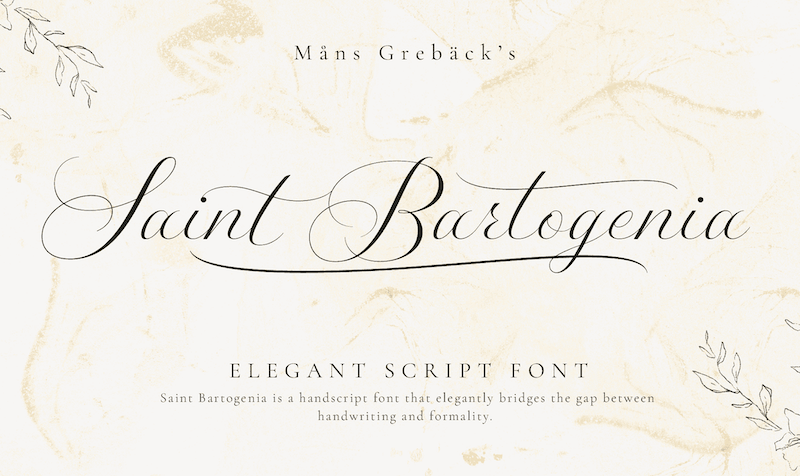
Once you have a font management application in place, you can choose a font provider to download from. Web-based providers like Google Fonts, DaFont and Adobe Fonts offer fonts for free. If you are looking for something more specific, there are many paid providers like Envato Elements and Fontspring that offer a wide variety of fonts.
3. Preview and select fonts
Once you have chosen a font provider, you can preview and select fonts. Be sure to read the license details of each font to make sure you are allowed to use it in your project.
4. Download and install the fonts
Once you have found the perfect font, you can download and install it. If you are using a font management application, you can simply drag the font file into the application to install it. You can then open and view the font in the application.
5. Use the fonts in Final Cut Pro
Once you have the font installed, you can use it in your Final Cut Pro projects. You can simply select the font in the text editor, or if you are using titles or motion templates, you can customize the text to fit your project’s needs.
Conclusion
Downloading and using fonts in your Final Cut Pro projects can add a unique and interesting look to your project. From choosing the perfect font and downloading it, to using it in the text editor or templates, fonts are an invaluable design resource.


